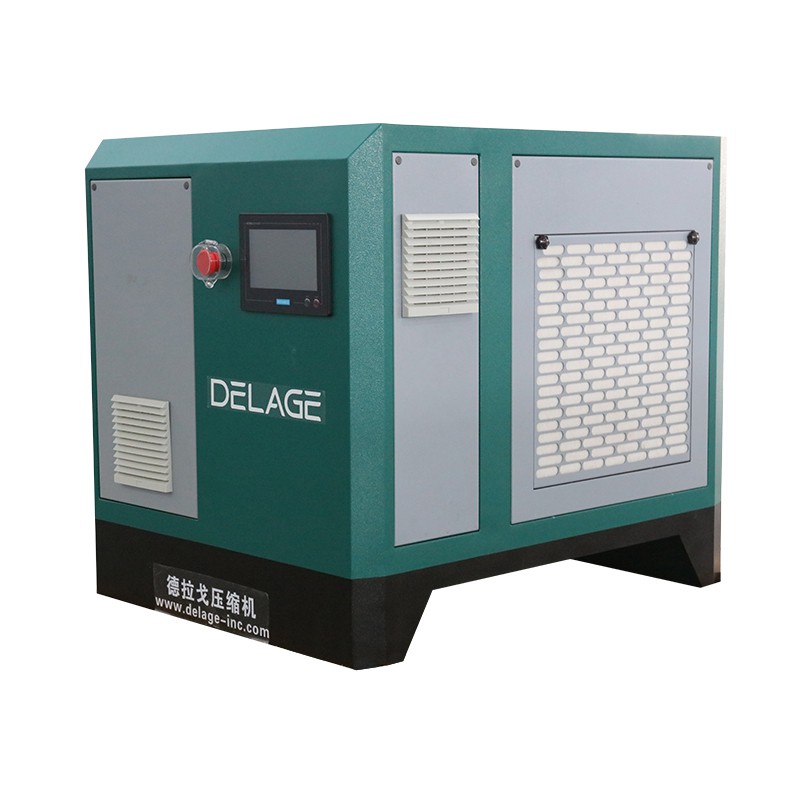
Hey there! As a supplier of Turbo Blower Fans, I've seen firsthand how important it is to keep these machines in top - notch condition. One of the key maintenance tasks is disassembling the Turbo Blower Fan for cleaning. In this blog, I'll walk you through the whole process step by step.
Why Clean Your Turbo Blower Fan?
Before we get into the disassembly process, let's talk about why cleaning is so crucial. Over time, dust, dirt, and debris can build up inside the Turbo Blower Fan. This not only reduces its efficiency but can also lead to overheating and even premature failure. A clean Turbo Blower Fan runs more smoothly, consumes less energy, and has a longer lifespan. So, it's definitely worth the effort!
Tools You'll Need
First things first, gather the necessary tools. You'll need a set of screwdrivers (both Phillips and flat - head), a socket wrench set, a soft brush (like a paintbrush), a can of compressed air, and a clean, lint - free cloth. Having these tools ready will make the disassembly process a whole lot easier.
Step 1: Power Down and Safety First
The most important step before you start disassembling anything is to power down the Turbo Blower Fan. Unplug it from the electrical outlet or switch off the circuit breaker if it's hard - wired. This will prevent any accidental starts and keep you safe from electrical shocks.
Step 2: Remove the Outer Casing
Most Turbo Blower Fans have an outer casing that protects the internal components. Use your screwdriver to remove the screws holding the casing in place. Place the screws in a small container so you don't lose them. Once the screws are out, gently lift off the outer casing. Be careful not to force it, as there might be some clips or tabs holding it in place. If you encounter any, use a flat - head screwdriver to carefully pry them open.
Step 3: Access the Fan Blades
With the outer casing removed, you'll now have access to the fan blades. This is where a lot of the dirt and debris accumulate. Before you start cleaning the blades, take a moment to inspect them for any signs of damage, like cracks or chips. If you notice any, it might be time to replace the blades. You can find replacement parts on our website Turbo Blower Fan.
Step 4: Clean the Fan Blades
Now, it's time to clean the fan blades. Use the soft brush to gently remove any loose dirt and debris from the blades. Start from the center and work your way out towards the edges. For stubborn dirt, you can use a can of compressed air to blow it off. Hold the can upright and spray short bursts of air onto the blades. Make sure to cover all sides of the blades.
Step 5: Remove the Motor Cover
Next, you'll need to remove the motor cover. This is usually held in place by a few screws. Use your screwdriver to remove them and set the cover aside. The motor is a sensitive component, so be extra careful when handling it.
Step 6: Clean the Motor and Surrounding Areas
Once the motor cover is off, you can clean the motor and the surrounding areas. Use the soft brush to gently remove any dust from the motor. Be careful not to touch any of the electrical connections. You can also use the compressed air to blow out any debris from hard - to - reach areas. After cleaning, use the lint - free cloth to wipe down the motor and the surrounding parts.
Step 7: Check the Bearings
While you have the Turbo Blower Fan disassembled, it's a good idea to check the bearings. The bearings are responsible for the smooth rotation of the fan blades. Look for any signs of wear, like excessive play or roughness when you try to rotate the shaft. If you have an Air Foil Bearing Turbo Blower, it has some unique bearing features that might require specific maintenance. If you're unsure about the condition of the bearings, it's best to consult a professional.
Step 8: Reassemble the Turbo Blower Fan
After you've finished cleaning all the components, it's time to put the Turbo Blower Fan back together. Start by replacing the motor cover and tightening the screws. Then, carefully place the outer casing back on and secure it with the screws. Make sure all the parts are properly aligned and that there are no loose screws or parts.
Step 9: Test the Turbo Blower Fan
Once you've reassembled the Turbo Blower Fan, plug it back in and turn it on. Listen for any unusual noises or vibrations. If everything sounds and feels normal, then you've successfully disassembled and cleaned your Turbo Blower Fan!
Conclusion
Disassembling and cleaning a Turbo Blower Fan might seem like a daunting task, but with the right tools and a little patience, it's definitely doable. Regular cleaning will not only keep your Turbo Blower Fan running efficiently but also extend its lifespan.
If you're in the market for a new Turbo Blower Fan or need any replacement parts, we've got you covered. We offer a wide range of Turbo Air Blower products that are high - quality and reliable. Whether you're a small business or a large industrial operation, we can find the right Turbo Blower Fan for your needs.
If you have any questions or want to discuss your specific requirements, don't hesitate to reach out. We're here to help you make the best choice for your ventilation needs.

References
- General knowledge about Turbo Blower Fan maintenance from industry experience.
- Manufacturer's guidelines for Turbo Blower Fan disassembly and cleaning.